.svg)

Add Fingerprint & Biometric Authentication to Your Node.js + Express Site

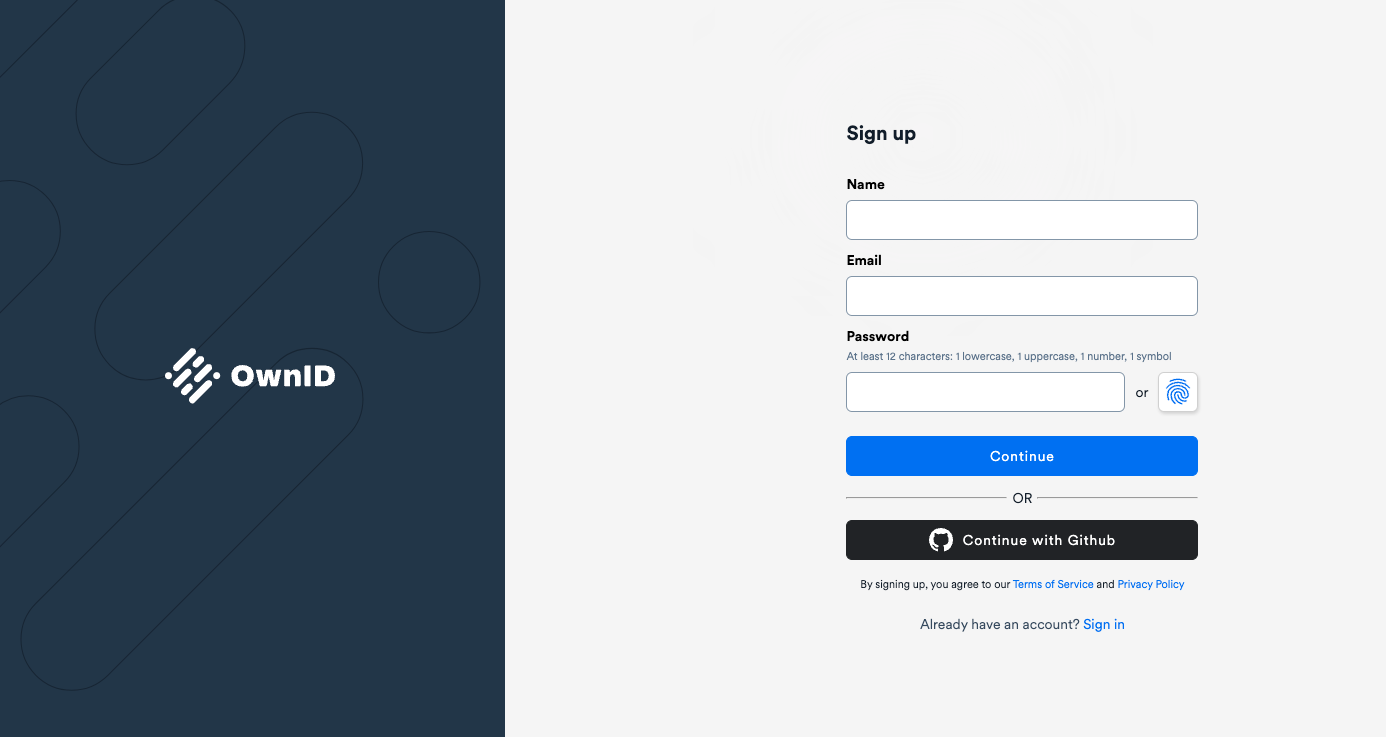
OwnID gives you all the benefits of FIDO authentication in a way that is easy to implement and convenient for your website users.
With its full-stack integration, you can offer passwordless authentication for your users. The integration is extremely simple, so that in just a few steps, you can make it available on your website. In this post, we will explain in detail how to integrate OwnID into a site that uses Node + Express in the backend to authenticate users.
First Step
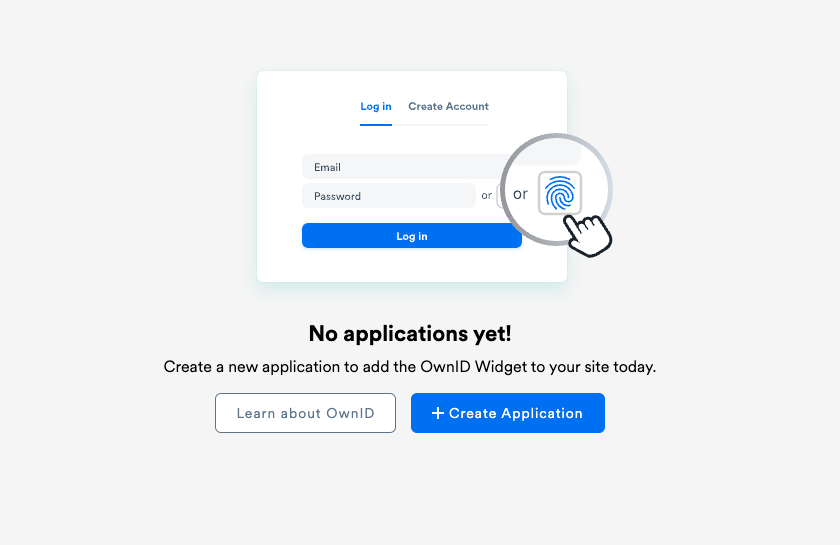
The first step in implementing FaceID and TouchID authentication on your site is to create an account on console.ownid.com. The registration process is very simple and you can use your GitHub account to register faster.
Once you have created your account. You can create an application and select NodeJS as the integration type.
Second Step
Next, create a field for each user called ownIdData in your database. Usually, this field will be in the table holding data about users. OwnID servers will use the information stored here to verify and authenticate users. The reason for this is that OwnID never keeps or stores any data about your users.
This field will store a string of characters. Its length should be 5000 characters.
Third Step
Once you have created the field in your database, the next step is to create three endpoints, which will be used by OwnID servers to verify a user.
The first endpoint is /setOwnIDDataByLoginId. This endpoint will be used to store the ownIdData payload in the correspondent user in the database.
In the request body, this endpoint will receive two parameters. The first is loginID, which is a unique identifier for each user and is typically their email address. The second is ownIdData, which is the string that you will store in your database. When this endpoint receives a request, it should store the string contained in ownIdData for the user given by loginID.
Here is a code example, which you can copy and paste into your project:
router.post('/setOwnIDDataByLoginId', async (req, res) => {
    const email = req.body.loginId; //The unique id of a user in your database, usually email or phone
    const ownIdData = req.body.ownIdData;
    const user = await User.findOne({ email: email }).exec();
    user.ownIdData = ownIdData;
    await user.save();
    return res.sendStatus(204);
});
The endpoint will return code 204 to indicate that ownIdData has been successfully saved in your database.
The next endpoint you will create is /getOwnIDDataByLoginId. As the name suggests, this endpoint will return the string ownIdData stored for the user sent in the request.
If the user does not exist in OwnID, the response code of the endpoint will be 404. This code in Node is a practical example of its implementation:
router.post('/getOwnIDDataByLoginId', async (req, res) => {
    const email = req.body.loginId;
    const user = await User.findOne({ email: email }).exec();
    if (!user) { return res.json({ errorCode: 404 }) } //Error code when user doesn't exist
    res.json({ ownIdData: user.ownIdData })
});
The last endpoint you are going to create is called /getSessionByLoginId. It is responsible for returning the user session received in the request. It can be a JWT, a session cookie, etc. An OwnID server will act as a proxy and return this token or cookie to your frontend, allowing you to authenticate the user.
This is an example of code that implements this endpoint in Node:
router.post('/getSessionByLoginId', async (req, res) => {
    const sign = require('jwt-encode');

    const email = req.body.loginId;
    const user = await User.findOne({ email: email }).exec();
    const jwt = sign({ email: user.email }, 'secret');
    return res.json({ token: jwt });
});
In this example, we are using a third-party library to create the signed JWT. If you are going to use it, remember to install it in your project with:
npm i jwt-encode
Once you have created the three endpoints, your server will be ready to offer biometric passwordless authentication to your users!
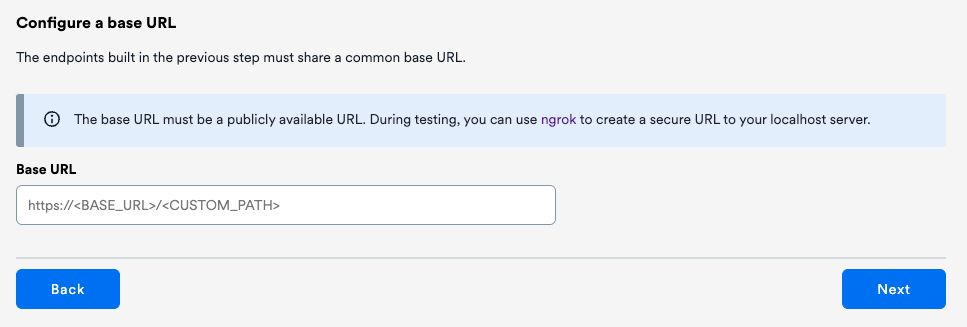
Next, set the base URL used for your endpoints on the OwnID console, and proceed with the integration on your frontend.
After creating the endpoints, it is possible to check in the console that they return the right values. Just create a user in your database with the email address "test@example.com" and click on “here” as shown in the screenshot below. If all endpoints return a valid value, you will get results like these:

Last Step
The last thing you need to do to get your biometrics authentication working is to add some code to your frontend that displays a button next to the password field. In this article, we are going to describe the steps needed to add it in ReactJS, but it is also possible – and very easy! – to do it in Angular or JavaScript.
First, install OwnID React SDK on your project with this command:
npm install @ownid/react
Then, add OwnIDInit to your app component and initialise it with the AppID generated for your OwnID application as follows:
import { OwnIDInit } from '@ownid/react';
...
  <OwnIDInit config={{ appId: '<your-appId>' }}/>
Finally, all you will have to do is to add the widget to your registration and login forms. This is a code example for the login page:
function LoginComponent() {
    const emailField = useRef(null);
    const passwordField = useRef(null);

    function onLogin(data) {
        //setting user session
        localStorage.setItem('data', JSON.stringify({ token: data.token }));
        //redirecting user to the account page
        window.location.href = '/account';
    }

    return (
        <form>
            <input ref={emailField} type="email" name="email" />
            <input ref={passwordField} type="password" name="password" />
            <button type="submit">Log In</button>
            <OwnID type='login'
                passwordField={passwordField}
                loginIdField={emailField}
                onError={(error) => console.error(error)}
                onLogin={onLogin} />
        </form>
    );
}
Notice that the onLogin function will be triggered whenever a user logs in using the biometric option. Therefore, you will need to set the token in the frontend. This is the same token that is returned from the endpoint /getSessionByLoginId. If the user is authenticated, in this example, we redirect them to the account page.
This is a code snippet to add a widget for passwordless authentication to your registration page:
function RegisterComponent() {
    const emailField = useRef(null);
    const passwordField = useRef(null);
    const [ownIDData, setOwnIDData] = useState(null);

    // Stores ownIdData
    function onRegister(ownIdData) {
        setOwnIDData(ownIdData);
    }

    function onSubmit(userData) {
        //Call your existing registration logic in the backend
        return register({ ...userData, ...{ ownIdData: ownIDData } });
    }

    return (
        <form onSubmit={onSubmit}>
            <input ref={emailField type="email" name="email" />
            <input ref={passwordField} type="password" name="password" />
            <button type="submit">Register</button>
            <OwnID type='register'
                loginIdField={emailField}
                passwordField={passwordField}
                onError={(error) => console.error(error)}
                onRegister={onRegister} />
        </form>
    );
}
Note that it is necessary to extend your registration service to store the ownIdData parameter for each user account.
After this step, everything will be ready for your web users to enjoy a passwordless, frictionless and cross-channel registration and authentication experience.
You can download our sample projects from GitHub using this link. Also, feel free to join our Discord Server to get updates or support, or to provide feedback. We'd love to hear from you!


.png)


