.svg)
Add Passwordless authentication to your JAVA backend

If you want to keep your online accounts secure, you may find that passwords don’t make the cut for several reasons:
- It’s hard to remember good passwords.
- Passwords are often reused.
- Hackers can breach databases where passwords are stored.
- Passwords are frequently subject to phishing attacks.
So, what can you do instead? Well, tech companies like Apple have been coming up with solutions that don’t need passwords, e.g. Apple Passkeys.
Here's the challenge: not all devices or browsers are compatible with Passkeys. If you don’t want the hassle of checking each time whether it’s a new device or an existing user, a PC or a smartphone, etc, but instead provide the best passwordless experience to every user with minimal implementation effort, then you should consider the passwordless identity platform OwnID.
OwnID is quick and easy to set up - all you have to do is integrate it on your website within minutes.
You can use OwnID regardless of what customer identity platform or custom authentication backend solution you have. Here, I’m going to walk you through integrating OwnID into a JAVA server with a React frontend - so let’s get started!
First Step - Create an account
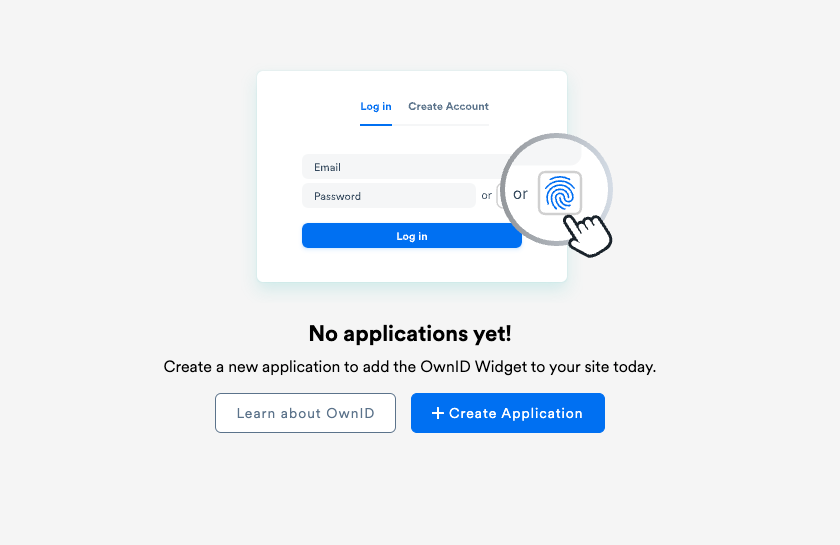
This one is super easy. Before you can add passwordless authentication to your site, you need an account - so register at console.ownid.com.
Once you have created your account, you can create an application and select JAVA as the integration type.
Second Step - Create ownIdData fields
Now, you need to create an ownIdData field, of at least 5000 characters in length, in the table that holds your user data. This is the information that OwnID will use to authenticate your users. Note that OwnID never keeps or stores any data about your users.
Third Step - Create three endpoints
Next, you need to create three endpoints to allow the OwnID servers to verify users:
- /setOwnIDDataByLoginId
- /getOwnIDDataByLoginId
- /getSessionByLoginId
Let’s break these down.
Endpoint 1 – /setOwnIDDataByLoginId – is what the OwnID servers use to store the ownIdData for each user in the database. When it receives a request, it gets two parameters – (1) the loginID, which is a unique identifier for each user, typically their email address; and (2) the ownIdData, which is the string you will save in your database – so in each case it keeps the string of information contained in ownIdData for the user given by loginID.
Here’s a JAVA-coded example that’s all ready to copy and paste into your project:
@PostMapping("/setOwnIDDataByLoginId")
public ResponseEntity <Object> setOwnIdDataByLoginId(@RequestBody OwnIDData req) {
    User user = userRepository.findByLoginId(req.getLoginId());
    user.setOwnIdData(data);
    userRepository.save(user);

    return ResponseEntity.status(HttpStatus.NO_CONTENT).body(null);
}
Once ownIdData is successfully stored in your database, the endpoint returns the confirmation code 204.
Endpoint 2 – /getOwnIDDataByLoginId – returns the ownIdData string stored for the user. If the requested user doesn’t exist in OwnID, it returns the response code 404.
Here’s a JAVA-coded example of this implementation:
@PostMapping("/getOwnIDDataByLoginId")
public ResponseEntity <Object> getOwnIdDataByLoginId(@RequestBody OwnIDSearchRequest req) {
    User user = userRepository.findByLoginId(req.getLoginId());

    if (user == null) {
        return ResponseEntity.status(HttpStatus.OK).
            body(new OwnIdErrorResponse(HttpStatus.NOT_FOUND, "User not found"));
    }

    return ResponseEntity.status(HttpStatus.OK).body(new OwnIDDataResponse(user.getOwnIdData()));
}
Endpoint 3 – /getSessionByLoginId – returns the user session received in the request, which can be a JSON Web Token (JWT) or a session cookie, depending on your authentication mechanism. Here, the OwnID server acts as a proxy, returning the token or cookie to your frontend and allowing you to authenticate the user.
Here’s a JAVA-coded example of this endpoint:
@PostMapping("/getSessionByLoginId")
public ResponseEntity <OwnIDSessionResponse> getSessionByLoginId(@RequestBody OwnIDSearchRequest req) {
    User user = userRepository.findByLoginId(req.getLoginId());
    Algorithm alg = Algorithm.HMAC256("secret");
    String token = JWT.create().
        withClaim("loginId", req.getLoginId()).
        sign(alg);

    return ResponseEntity.status(HttpStatus.OK).body(new OwnIDSessionResponse(token));
}
Step 4 - Check Endpoints
Once you’ve created your three endpoints you can set the base URL for them on the OwnID console and move on to integrating them into your frontend.
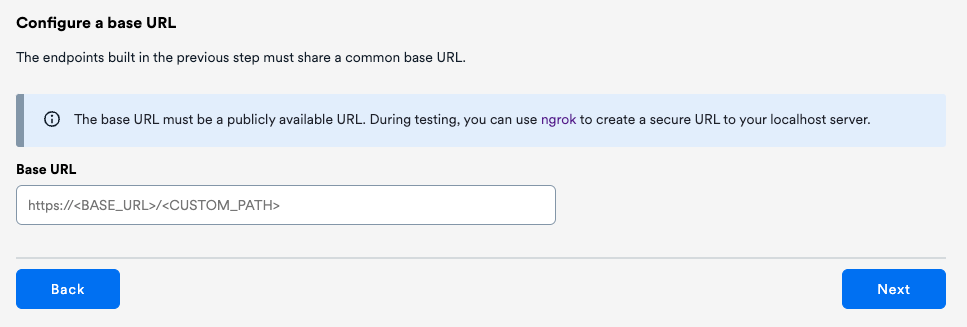
First, check in the OwnID console that they return the right values.
To do this, create a dummy user in your database with the email address "test@example.com" and click on "here" as shown in the screenshot below. If all endpoints return a valid value, you’ll get results like these:

Step 5 - Integrate Frontend with React
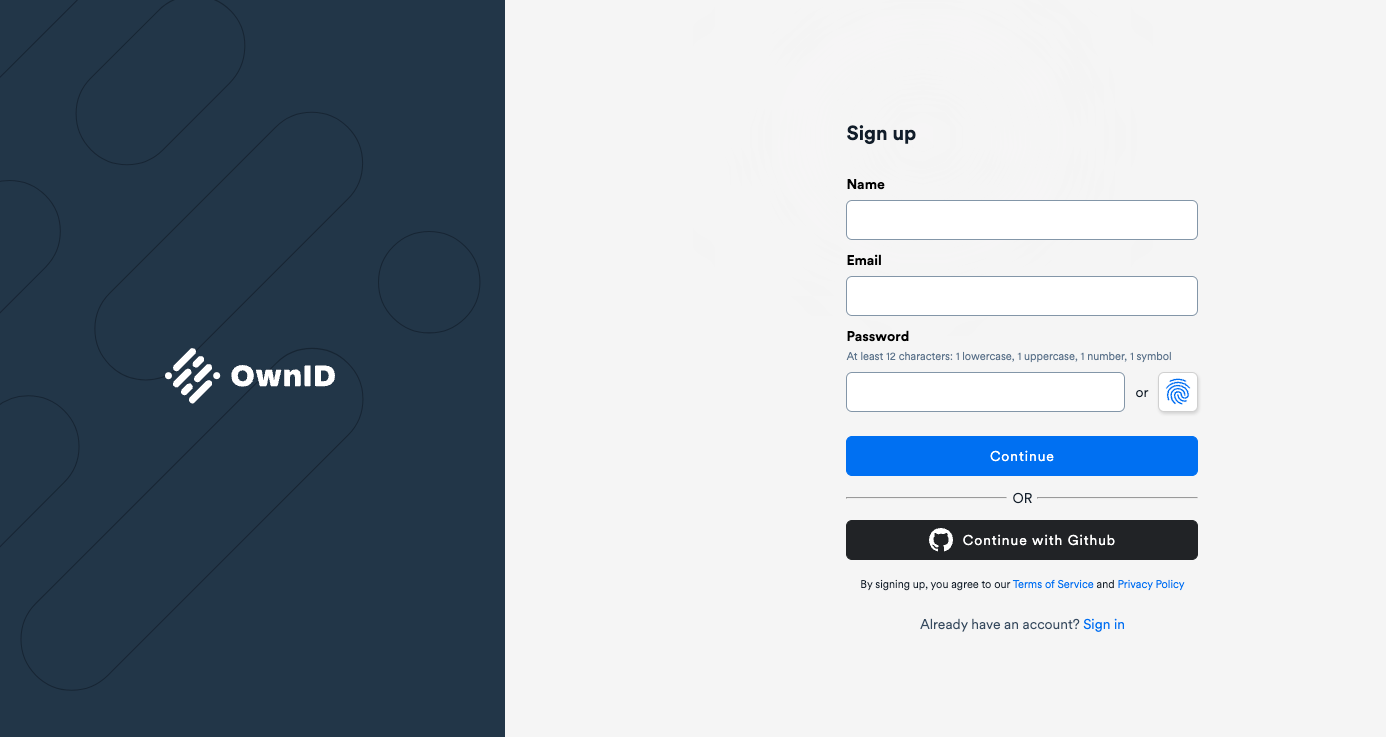
So, just one more thing to do to get your biometrics authentication working – add some code to your frontend to display a button next to the password field. Here, we’re using ReactJS, but it’s also possible – and very easy! – to do it in Angular or JavaScript.
First, install OwnID React SDK on your project with this command:
npm install @ownid/react
Then, add OwnIDInit to your app component and initialise it with the AppID generated for your OwnID application as follows:
import { OwnIDInit } from '@ownid/react';
...
  <OwnIDInit config={{ appId: '<your-appId>' }}/>
Finally, add the widget to your registration and login forms. Here’s a code example for the login page:
function LoginComponent() {
    const emailField = useRef(null);
    const passwordField = useRef(null);

    function onLogin(data) {
        //setting user session
        localStorage.setItem('data', JSON.stringify({ token: data.token }));
        //redirecting user to the account page
        window.location.href = '/account';
    }

    return (
        <form>
            <input ref={emailField} type="email" name="email" />
            <input ref={passwordField} type="password" name="password" />
            <button type="submit">Log In</button>
            <OwnID type='login'
                passwordField={passwordField}
                loginIdField={emailField}
                onError={(error) => console.error(error)}
                onLogin={onLogin} />
        </form>
    );
}
Notice that the onLogin function gets triggered whenever a user logs in biometrically, so you need to set the token in the frontend. This is the same token that is returned from the endpoint /getSessionByLoginId. If the user is authenticated, in this example, we redirect them to the account page.
Here’s a coded excerpt showing how to add a passwordless authentication widget to your registration page:
function RegisterComponent() {
    const emailField = useRef(null);
    const passwordField = useRef(null);
    const [ownIDData, setOwnIDData] = useState(null);

    // Stores ownIdData
    function onRegister(ownIdData) {
        setOwnIDData(ownIdData);
    }

    function onSubmit(userData) {
        //Call your existing registration logic in the backend
        return register({ ...userData, ...{ ownIdData: ownIDData } });
    }

    return (
        <form onSubmit={onSubmit}>
            <input ref={emailField type="email" name="email" />
            <input ref={passwordField} type="password" name="password" />
            <button type="submit">Register</button>
            <OwnID type='register'
                loginIdField={emailField}
                passwordField={passwordField}
                onError={(error) => console.error(error)}
                onRegister={onRegister} />
        </form>
    );
}
Note that you need to extend your registration service to store the ownIdData parameter for each user account.
Once you’ve completed this step, you’re all set. Now your web users can enjoy passwordless, frictionless, cross-channel registration and authentication.
Download our sample projects from GitHub using this link. And feel free to join our Discord Server to get updates and support, or to provide feedback.
We'd love to hear from you!


.png)


.png)
.png)